Nature Crafts for Kids: Projects Using Found Materials
Ages 3-10 Outdoor + Indoor Free Supplies
The best craft supply store is your backyard. Or the park. Or that trail you walk on weekends. Leaves, sticks, rocks, pinecones, flowers, seeds, bark, feathers. Nature provides an endless supply of free materials, and kids get the bonus of a collecting trip before the crafting even starts.
These projects work with whatever you find in your area. You do not need specific plants or perfect specimens. Crooked sticks, chewed-up leaves, and lopsided rocks all work. That is kind of the whole point.
1. Leaf Print Art
What You Need
- Fresh leaves with visible veins (larger is easier)
- Washable paint or acrylic paint
- Paper or cardstock
- Paintbrush or foam roller
- Newspaper for the table
Ages 3-8 Medium Mess
Paint the underside of a leaf (the veiny side), press it paint-side down onto paper, and gently rub. Lift to reveal the print. The first few attempts might be blobby while kids figure out how much paint to use. Too much fills in the details. Too little leaves gaps. By the third or fourth try, they get it.
Fall leaves with strong vein patterns give the best prints, but this works any time of year. In spring, try using ferns or herbs from the garden. Layer different leaves and colors for more complex compositions.
2. Stick Wands and Nature Wands
What You Need
- A sturdy stick (about 12-18 inches)
- Yarn, ribbon, or string
- Small found objects (acorns, seed pods, small pinecones)
- Hot glue (adult use) or white glue
- Paint (optional)
Ages 4-9 Low Mess
Every kid wants a wand. Find a good stick, wrap it with yarn or ribbon, and attach natural treasures along the length. Some kids paint theirs first. Others like the raw wood look with just the yarn wrapping. My daughter spent 45 minutes wrapping a single wand in a rainbow pattern of yarn once, completely silent and focused. I would pay good money for that kind of quiet engagement on a regular basis.
These also make great walking sticks for hikes. Add a jingle bell to the yarn and you have a noise maker, which is fun outdoors and less fun inside.
3. Rock Towers and Balance Sculptures
What You Need
- Flat rocks in various sizes
- That is all (no glue, no paint, just balance)
Ages 4-10 No Mess
Collect flat rocks of different sizes and stack them. Sounds too simple to be interesting, but kids get genuinely absorbed in figuring out balance and weight distribution. How tall can you go before it falls? Can you build two towers and bridge them? This is engineering disguised as play, and the only supply is patience.
Do this outside for the full experience, or bring rocks inside and build on a tray. No paint, no glue, no cleanup. Just gravity and determination.
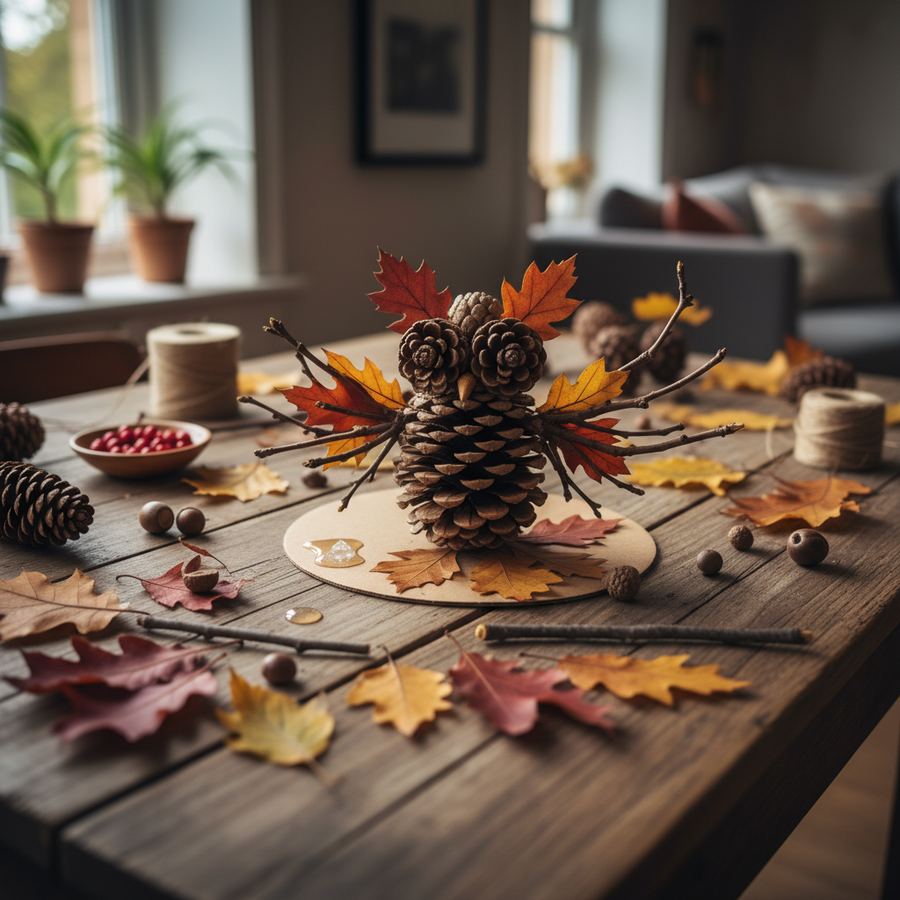
4. Pinecone Bird Feeders
What You Need
- Large pinecones
- Peanut butter or sunflower seed butter
- Birdseed
- String or twine
- Butter knife or spoon
- Plate or tray for rolling
Ages 3-8 Medium Mess
Tie string to the top of a pinecone. Spread peanut butter all over it with a knife or spoon. Roll it in birdseed on a plate. Hang it from a tree branch. Done. Kids love this because it is tactile, slightly messy in a satisfying way, and then they get to watch birds visit their creation.
Use sunflower seed butter if your household or school has peanut allergies. Works the same way. The peanut butter gets sticky and the birdseed gets everywhere, so do the rolling step outside or on a tray you can shake off. Real talk: your kids will eat some of the birdseed. It is not a big deal.
5. Nature Collage Frames
What You Need
- Cardboard (cut into frame shape)
- White glue
- Small natural items: tiny flowers, seeds, small leaves, bark pieces
- Clear packing tape (optional, for sealing delicate items)
Ages 4-10 Low Mess
Cut a frame shape from cardboard (or use a paper plate with the center cut out). Glue found natural objects all around the frame: small pressed flowers, seeds, bits of bark, tiny leaves, dried grass. Let it dry completely. Tape a photo or drawing to the back. This works as a gift, especially from a specific trip or outing where the materials have meaning.
The collecting walk is half the activity. Give kids a bag and let them gather anything small and interesting. You will be surprised what they find compelling.
6. Mud Painting
What You Need
- Dirt (seriously)
- Water
- Cups or containers for mixing
- Thick paper or cardboard
- Paintbrushes or sticks
Ages 3-7 High Mess (Outdoor Recommended)
Mix dirt with water to different consistencies and paint with it. Different soils give different colors. Sandy dirt makes a light wash. Clay-heavy soil makes a rich brown that dries with actual texture. This is the craft for the kid who loves getting dirty. Do it outside, obviously. Let it dry in the sun.
Will it look like a masterpiece? No. Will your kid be completely absorbed for 30 minutes? Yes. Sometimes that is the whole goal.
7. Pressed Flower Bookmarks
What You Need
- Small flowers and leaves (collected and pressed flat in a heavy book for 3-5 days)
- Cardstock cut into bookmark strips
- Clear contact paper or wide clear tape
- Glue stick
- Hole punch and ribbon (optional)
Ages 5-10 Low Mess
This one requires some advance planning since the flowers need pressing time, but the result is genuinely beautiful and kids are proud of them. Arrange pressed flowers on a strip of cardstock, lightly glue them down, and cover the whole thing with clear contact paper or wide tape to seal it. Punch a hole at the top and add a ribbon.
These make great gifts for teachers, grandparents, and anyone who reads. The pressing step also teaches patience, which is a bonus lesson wrapped in a craft.
8. Twig Picture Frames
What You Need
- 4 straight-ish twigs (roughly the same length)
- Twine or string
- Scissors
- Hot glue or strong craft glue
Ages 5-10 Low Mess
Arrange four twigs into a square or rectangle frame. Lash the corners together with twine, wrapping several times for strength. Add a dab of glue to keep it secure. Attach a photo with clothespins or tape. Tie a piece of twine to the top for hanging. Rustic, charming, and made from free materials.
Younger kids will need help with the lashing. Older kids can figure out the wrapping technique on their own and get creative with adding crossbars or decorations.
Collecting Tips
A few practical notes on nature collecting for crafts. Stick to public areas and your own yard. Leave plants rooted. Do not strip bark from living trees. Take only what you need and only from the ground when possible. Teaching kids to collect responsibly is part of the activity.
Keep a collection box at home where kids can store interesting finds. Rocks, dried flowers, unusual sticks, and seed pods all keep well. Having a stash means you can do nature crafts even on days when going outside is not in the cards. For more indoor options, check the rainy day crafts page.
If you want to learn more about nature-based activities for families, the Children and Nature Network has excellent research and resources on connecting kids with the outdoors. For easy entry points into crafting, the easy crafts for kids page has more beginner-friendly projects. You can also find seasonal nature craft variations on the seasonal fun page.